Description
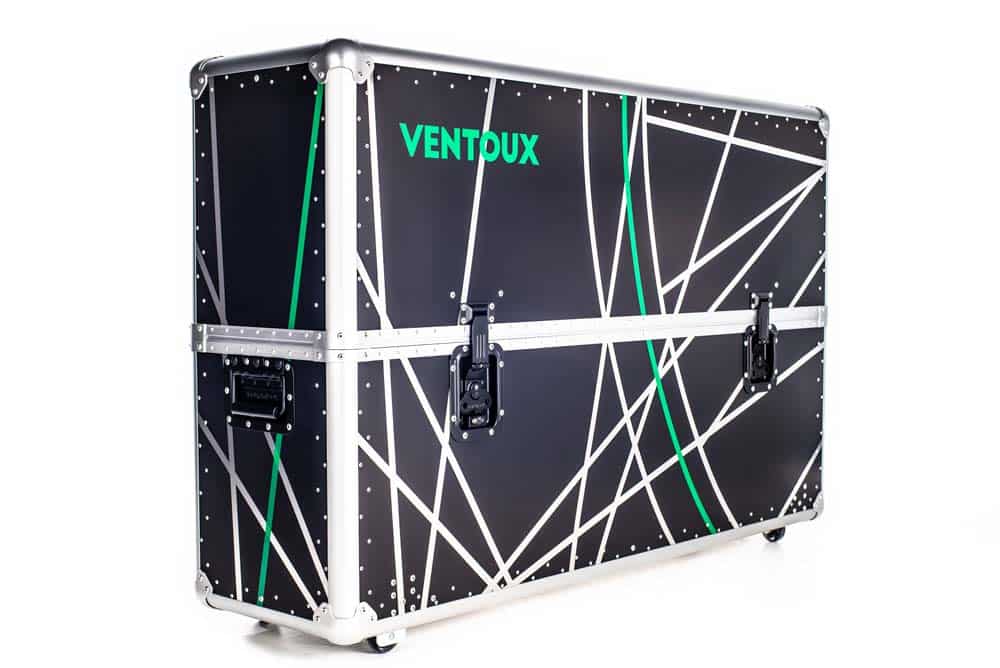
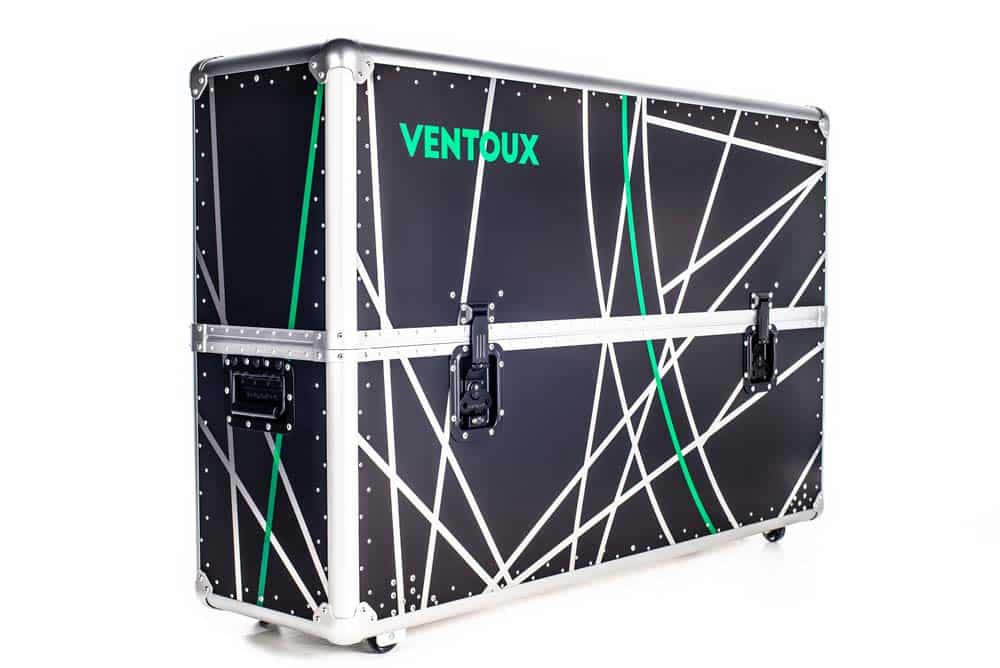
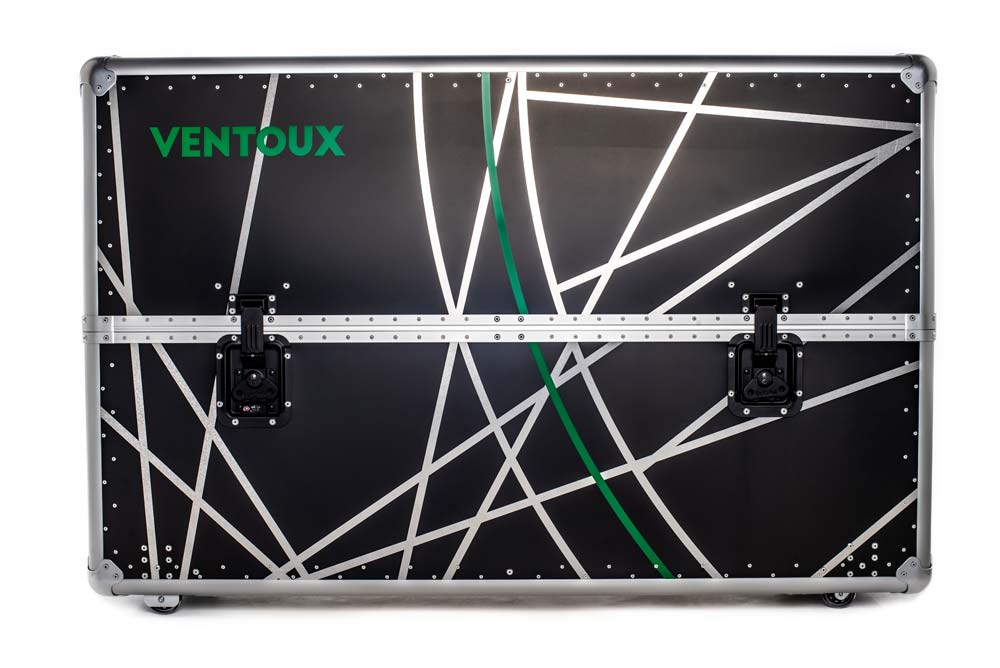
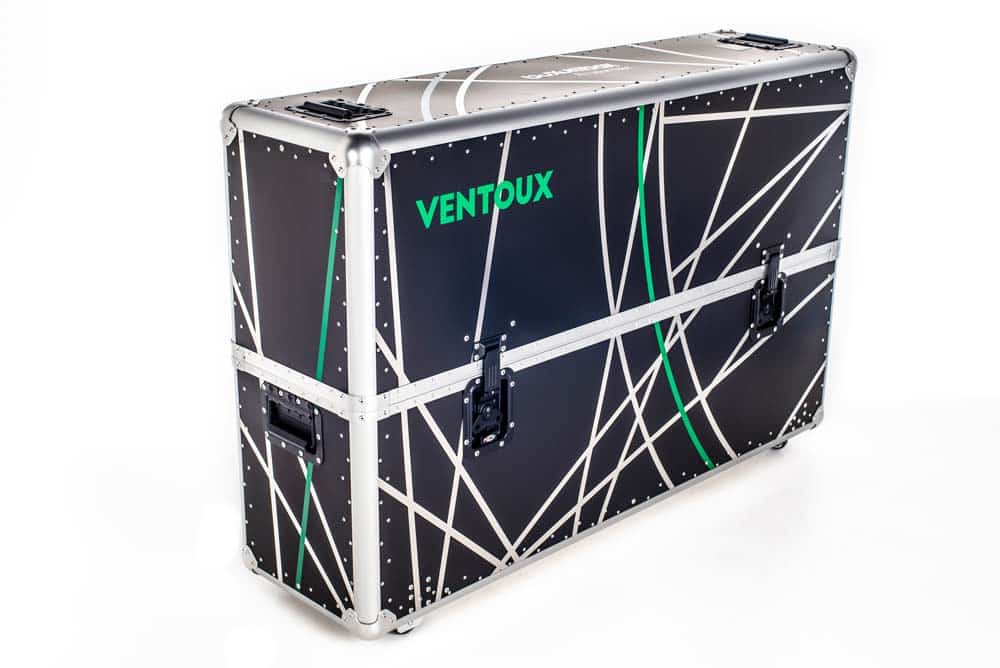
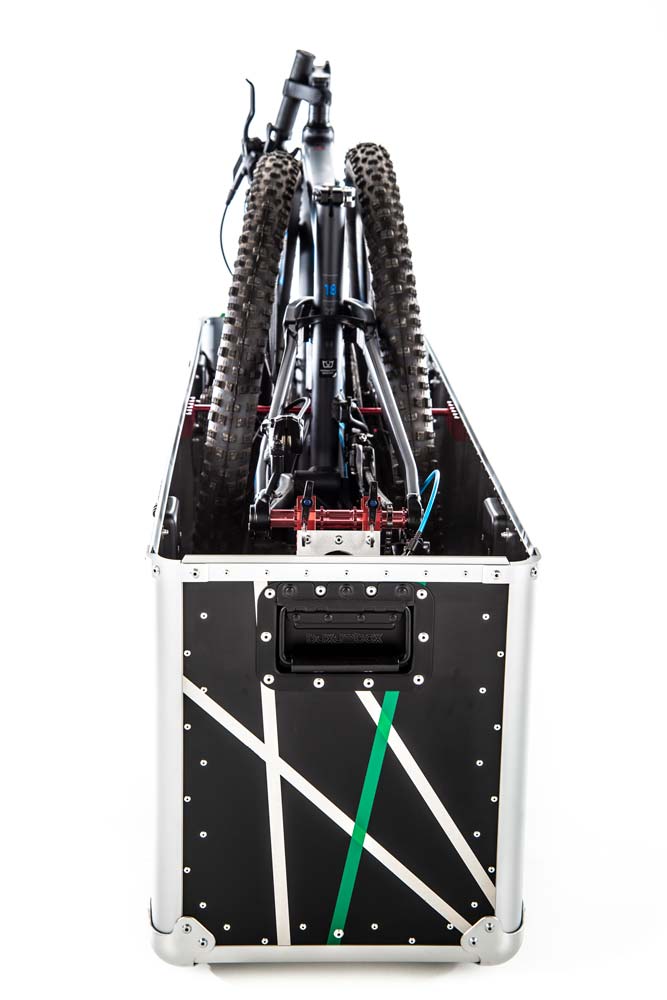
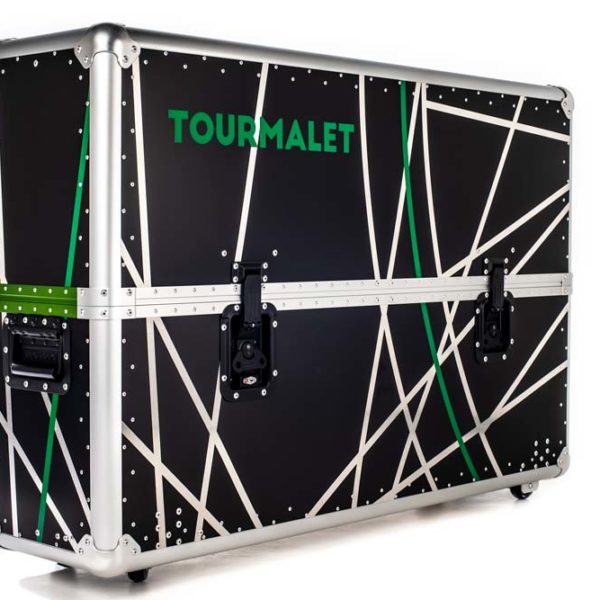
The MTB version of the popular Ventoux Road box.
For MTBs with wheelbase up to 124cm.
Can be converted for road/TT/gravel bike use by switching-out front and rear mounting brackets (available as an accessory).
Just ten minutes to pack/unpack – only requires removal of wheels, handlebars and seatpost (dropper seatposts on smaller bikes may fit without removal) – front suspension forks may need compressing for travel.
Please refer to Which Box? page for further details on maximum bike dimensions.
Compatible with all MTB axle standards, including Lefty and Fat Bike.
Net weight 15.5kg (34.1lb).
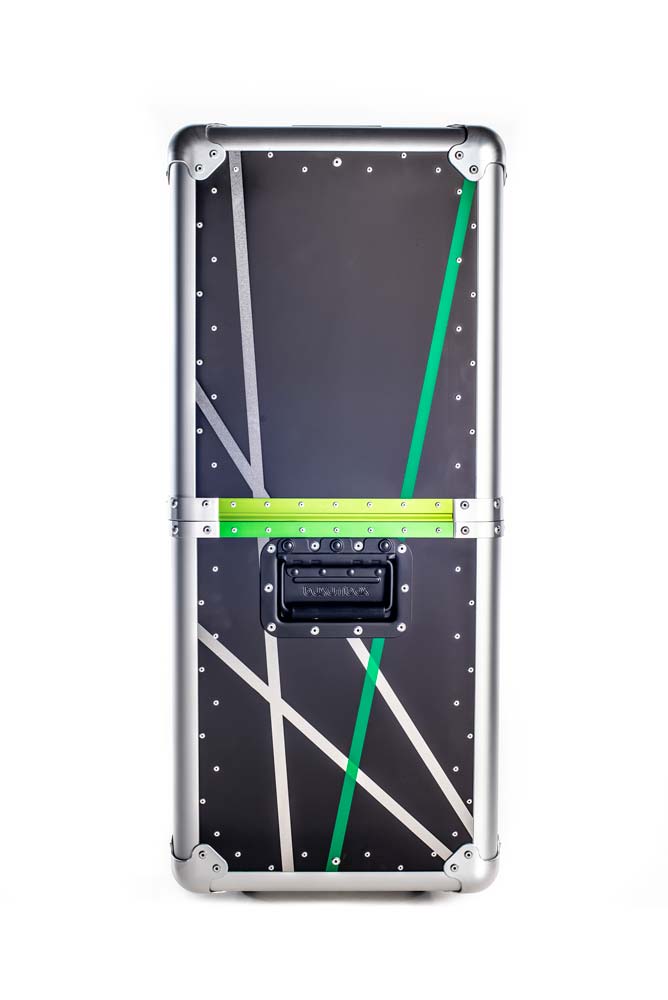
Overall external dimensions 134 x 87 x 36cm (52.6 x 34.2 x 14.2″).
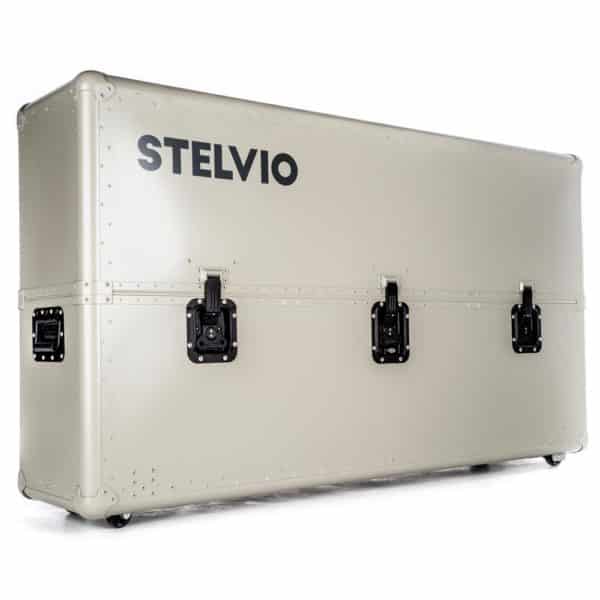
For very large/long MTBs that will not fit in to this box, please contact us about the Stelvio model – newly launched and good for wheelbases of up to 141cm.
Packing Instructions
PACK/UNPACK TIME: 10 MIN/10 MIN
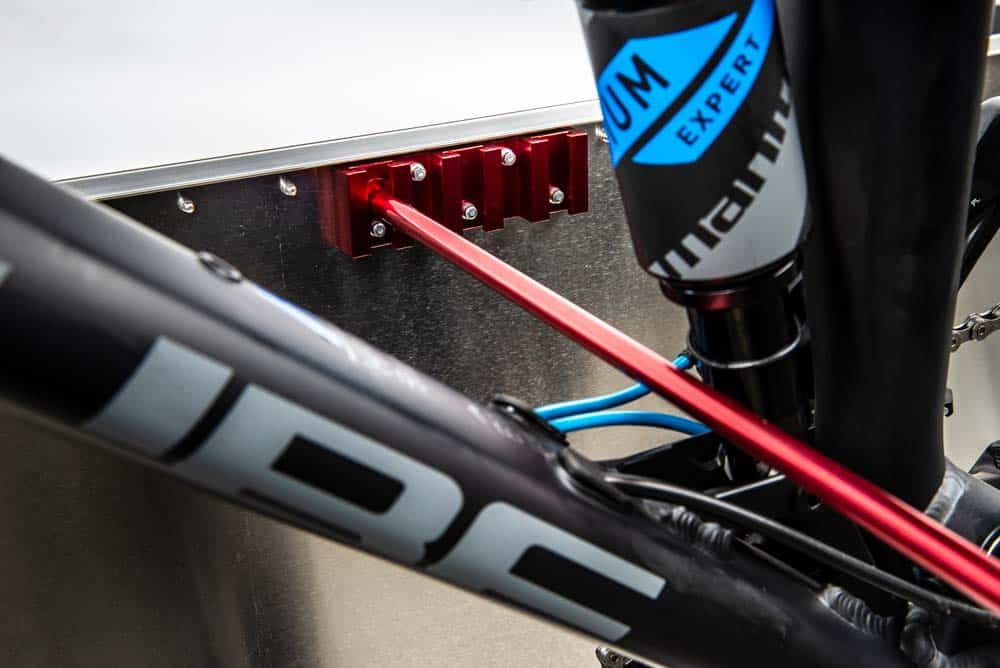
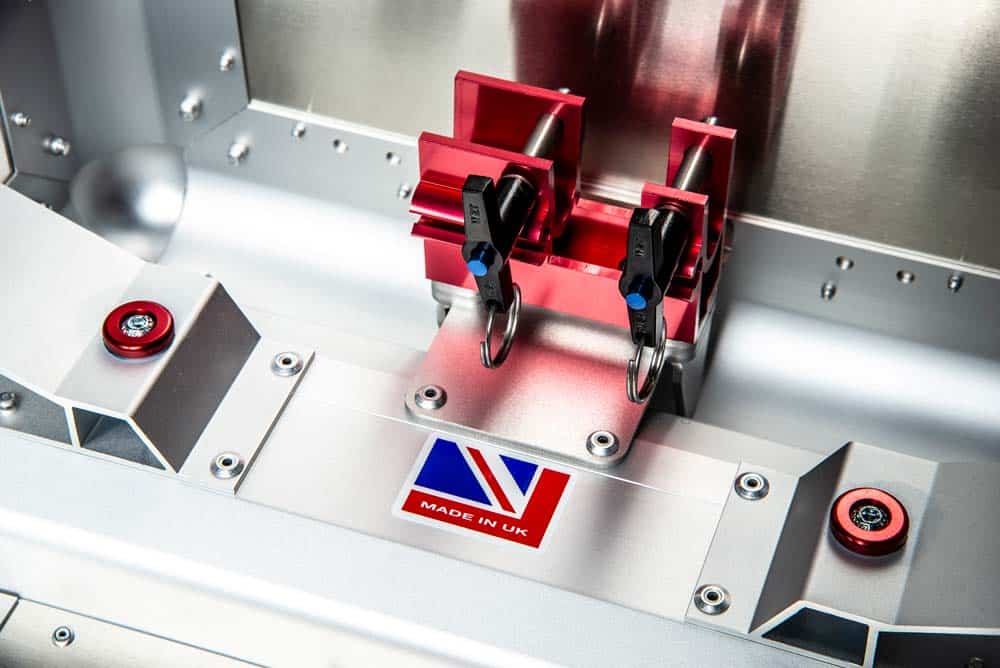
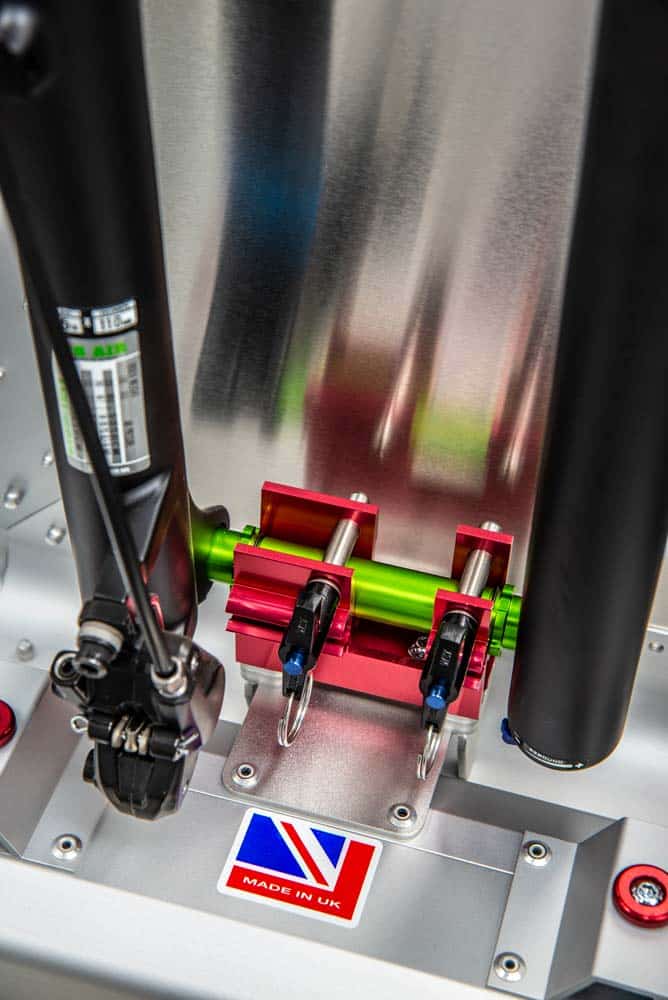
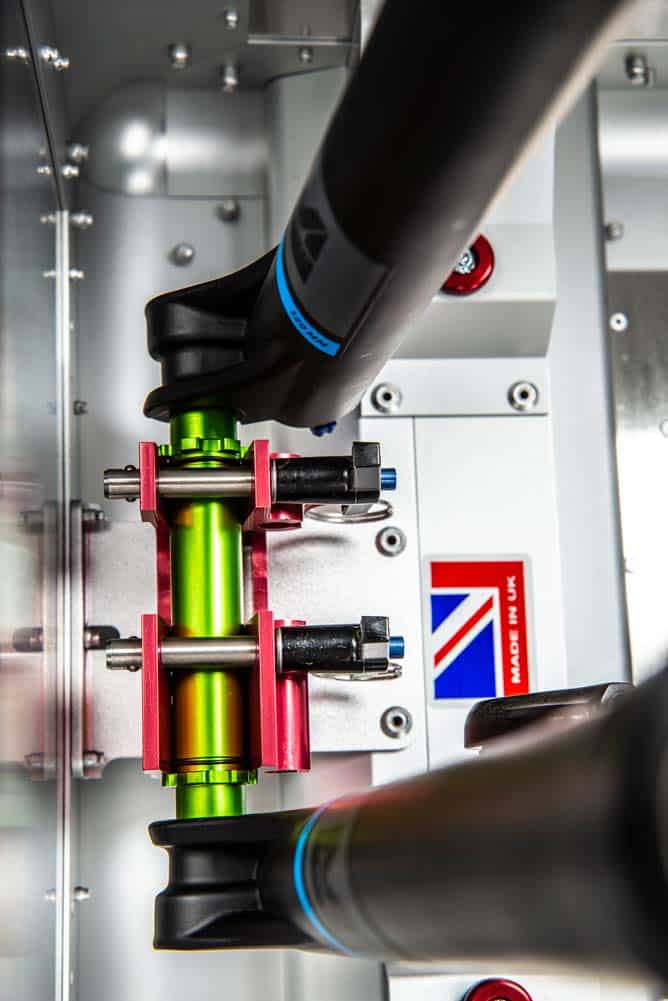
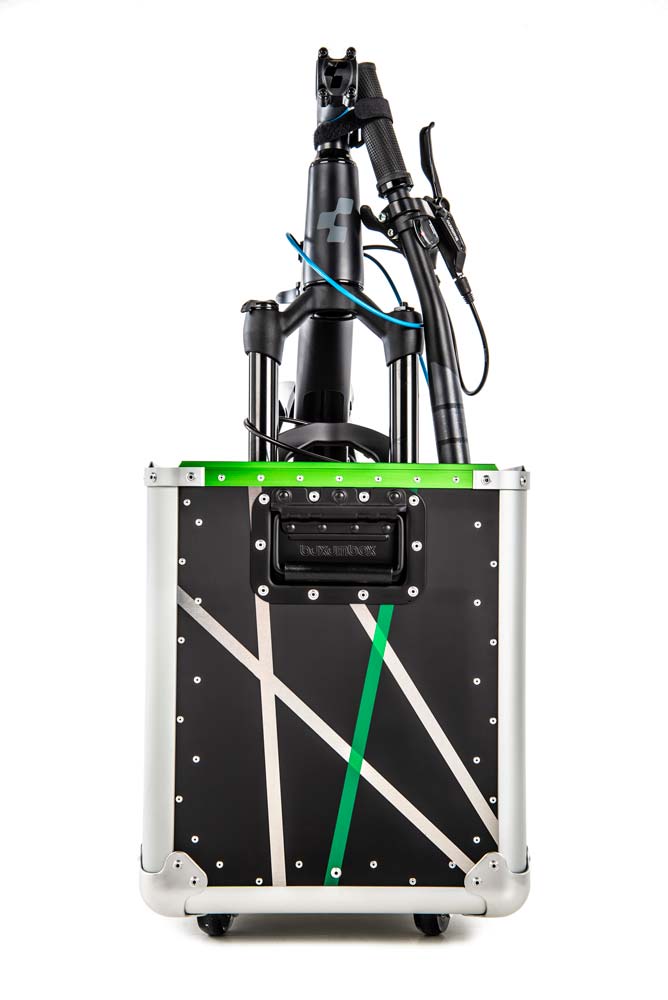
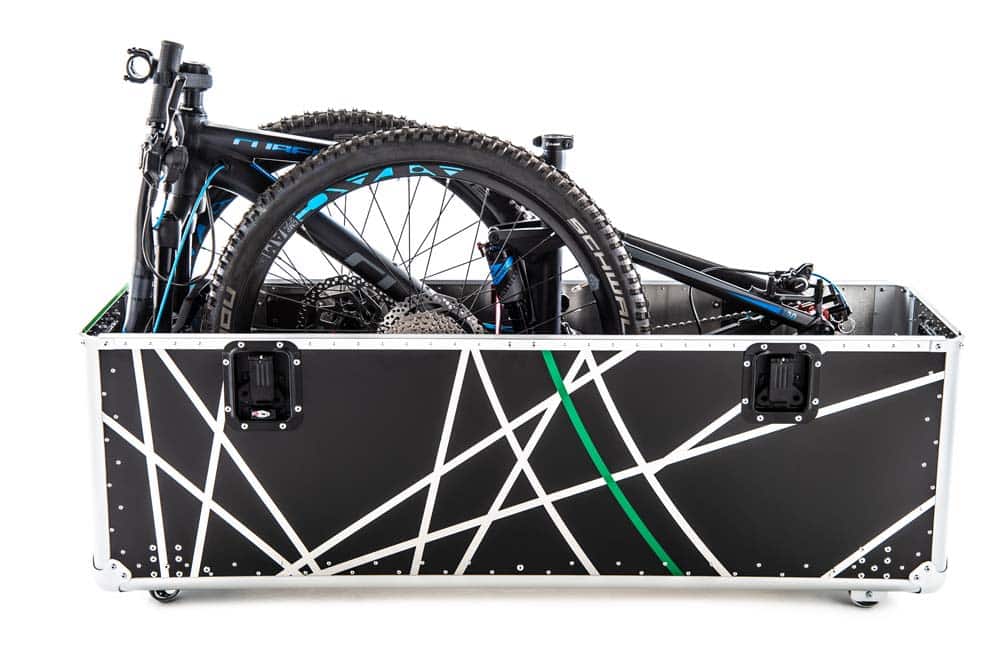
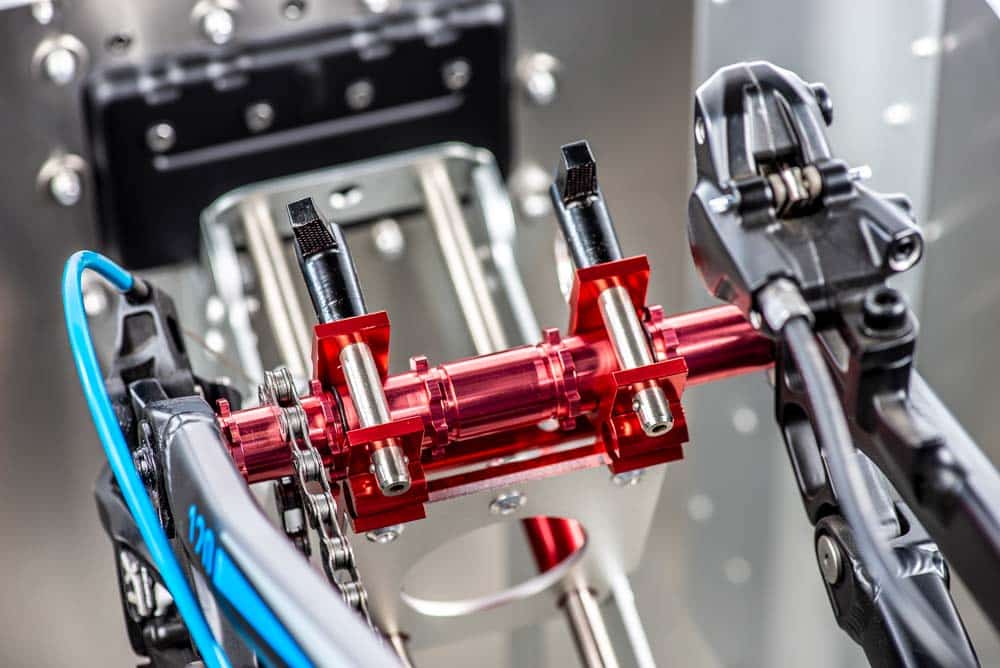
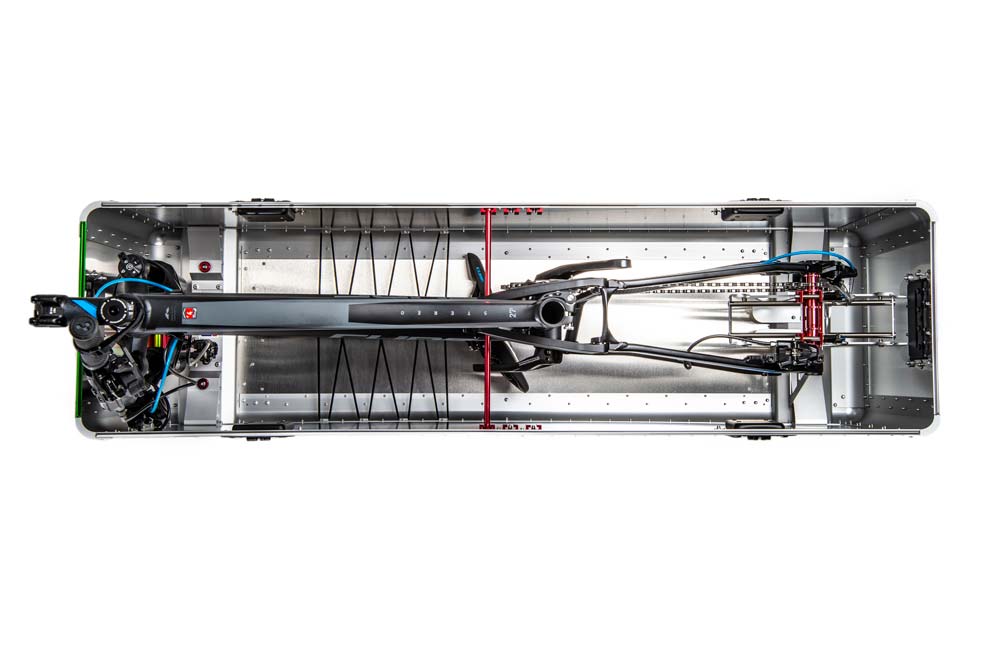
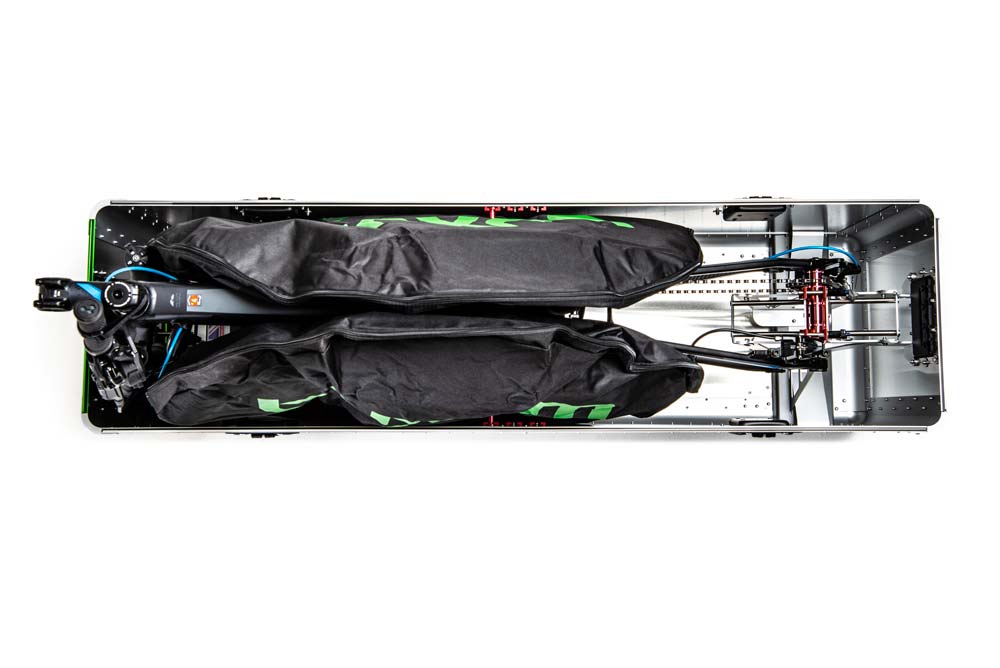
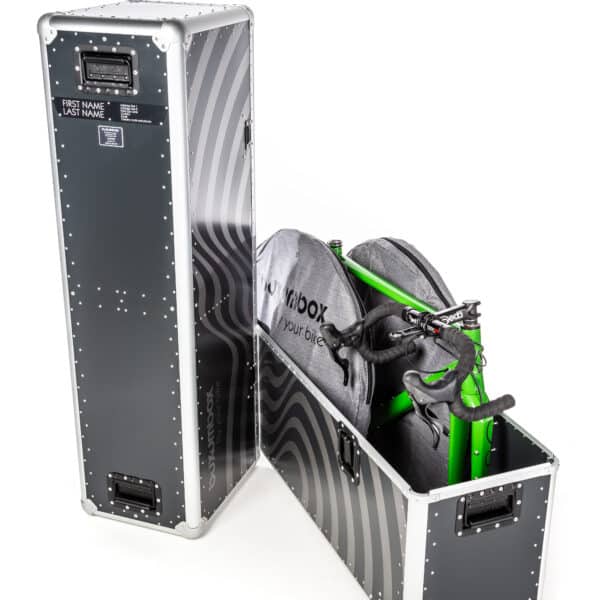
Please also refer to photos above – these show how bike is loaded/attached to box.
1 Prepare bike: Engage top gear. Remove wheels and deflate tyres. Remove seat post.
2 Prepare box: Open box, remove Anti-Crush Bar and wheel bags. Slide Rear Axle Mount to forward-most point on carrier.
3 Place saddle/seat-post under webbing in base of box.
4 Attach Dummy Hubs (castellated aluminium tubes) to front and rear dropouts of bike using the bike’s own thru-axle skewers – note that the chain runs over the top of the Dummy Hub to maintain tension in the chain.
5 Load frame to box. Cranks horizontal, right-hand crank forward.
6 Drop front Dummy Hub in to the cradle on Front Axle Mount – secure by inserting two Thru-axle Retaining Pins through holes in front axle mount. Then slide Rear Axle Mount backwards until rear Dummy Hub can be dropped in to Rear Axle Mount – secure with two Thru-axle Retaining Pins.
7 Remove handlebar from stem by removing end cap on stem (for quill stems and integrated handlebars, remove whole bar/stem assembly from fork).
8 Rotate handlebar through approximately 90° and lower into box adjacent to right hand side of front fork and headtube. Consider additional protection (e.g. pipe lagging) to brake levers.
9 Place wheels in wheel bags. Load wheelbags to box, one each side on frame – on right side (looking from rear of box) located forward and on left side located rearward. The slots in the wheelbags should be oriented horizontally and adjacent as shown in photo.
10 Insert Anti-Crush Bar through slots in wheel bag and locate ends in one of three locations in Anti-Crush Retainer (note that you should use same location point on left and right side).
11 Load any other items (e.g. helmet, shoes, track pump) to spare space in box (these should be housed in suitably protective bags to prevent damage during transit).
12 Manoeuvre box lid over box base, taking care to ensure lid is correctly oriented by aligning two red rivets on front edges. Check that upper and lower edges are positively engaged on all four sides of box. If top of steerer column touches the inside of the lid then compress forks to allow sufficient clearance.
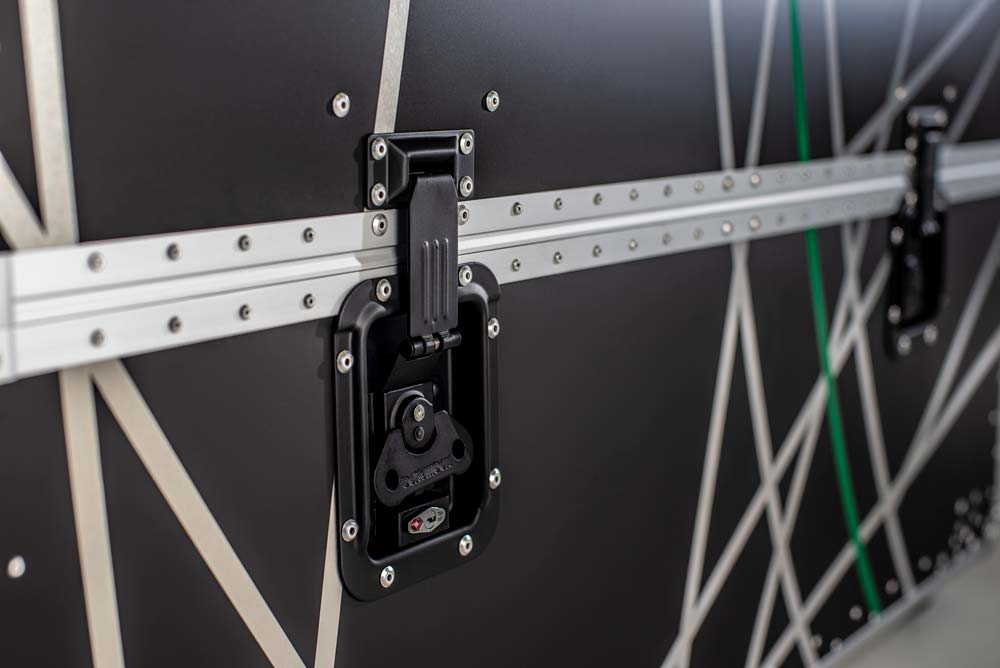
13 Engage and tighten four latches by turning handle through 90 degrees.
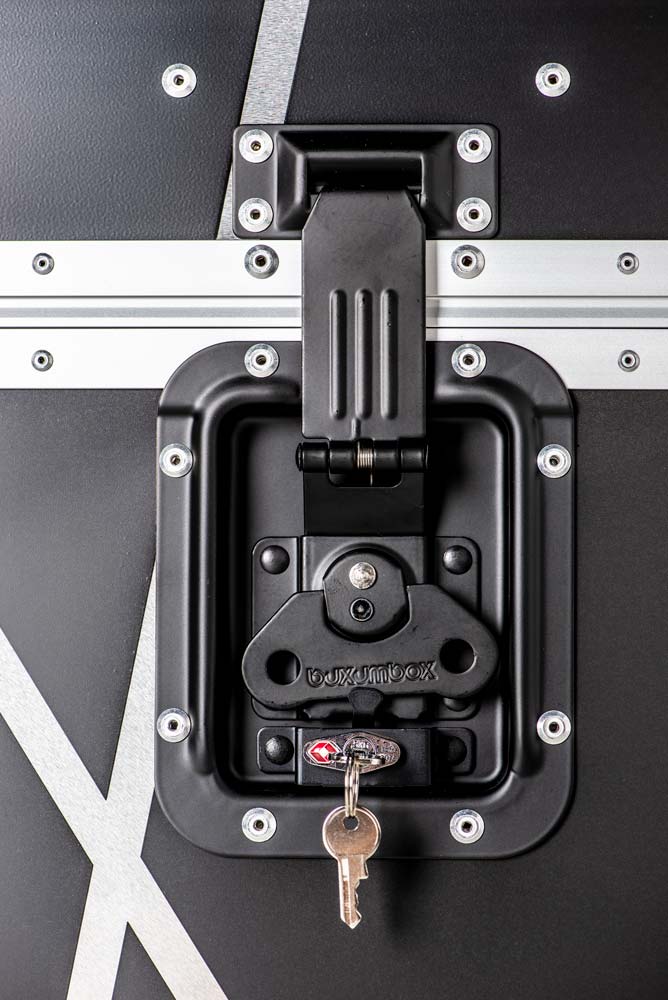
14 Lock the two TSA locking latches (one on each side of box) with TSA key supplied.
15 You’re all done – safe travels!

